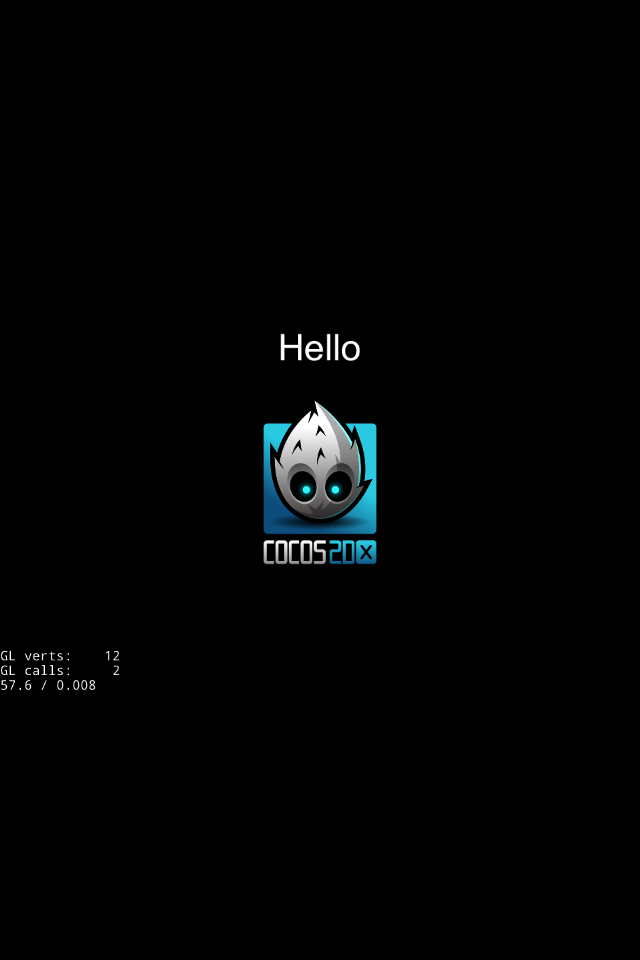
In this post , we can start a real cross platform cocos2d-js example. Let's begin (If you don't read posts about setup and what is cocos2d-js you can click to check underlined blog posts.) If you created a project you should see index.html page . There is no interesting things in here it's just plain HTML.
<!DOCTYPE html>
<html>
<head>
    <meta charset="utf-8">
    <title>Cocos2d-html5 Hello World test</title>
    <link rel="icon" type="image/GIF" href="res/favicon.ico"/>
    <meta name="viewport" content="width=480, initial-scale=1">
    <meta name="apple-mobile-web-app-capable" content="yes"/>
    <meta name="full-screen" content="yes"/>
    <meta name="screen-orientation" content="portrait"/>
    <meta name="x5-fullscreen" content="true"/>
    <meta name="360-fullscreen" content="true"/>
    <style>
        body, canvas, div {
            -moz-user-select: none;
            -webkit-user-select: none;
            -ms-user-select: none;
            -khtml-user-select: none;
            -webkit-tap-highlight-color: rgba(0, 0, 0, 0);
        }
    </style>
</head>
<body style="padding:0; margin: 0; background: #000;">
<script src="res/loading.js"></script>
<canvas id="gameCanvas" width="480" height="720"></canvas>
<script src="frameworks/cocos2d-html5/CCBoot.js"></script>
<script cocos src="main.js"></script>
</body>
</html>
This canvas will show the game inside it.
<canvas id="gameCanvas" width="480" height="720"></canvas>
and second important thing is its used for starting Cocos2d-js framework.
<script src="frameworks/cocos2d-html5/CCBoot.js"></script>
and last one is our actual game will start in this script file.
Lets look at main.js file. if you look carefully we only call main.js file in index.html. Game starting at this script file even so its more like a configuration file you won't code at this moment.
cc.game.onStart = function(){
    if(!cc.sys.isNative && document.getElementById("cocosLoading")) //If referenced loading.js, please remove it
        document.body.removeChild(document.getElementById("cocosLoading"));

    // Pass true to enable retina display, on Android disabled by default to improve performance
    cc.view.enableRetina(cc.sys.os === cc.sys.OS_IOS ? true : false);

    // Adjust viewport meta
    cc.view.adjustViewPort(true);
    // Setup the resolution policy and design resolution size
    cc.view.setDesignResolutionSize(cc.winSize.height, cc.winSize.width, cc.ResolutionPolicy.SHOW_ALL);
    // Instead of set design resolution, you can also set the real pixel resolution size
    // Uncomment the following line and delete the previous line.
    // cc.view.setRealPixelResolution(960, 640, cc.ResolutionPolicy.SHOW_ALL);
    // The game will be resized when browser size change
    cc.view.resizeWithBrowserSize(true);
    //load resources
    cc.LoaderScene.preload(g_resources, function () {
        cc.director.runScene(new HelloWorldScene());
    }, this);
};
cc.game.run();
I think most important thing in here , loading resources and running scene by the director. the others is easy to understand and just configs.
Docs says "cc.LoaderScene is a scene that you can load it when you loading files "
 cc.LoaderScene.preload(g_resources, function () {
        cc.director.runScene(new HelloWorldScene());
    }, this);
We loaded resources file and run the scene.
Let's look at resources.js in our project. resources.js is file our resources described in here. if you look at the above code g_resources loaded. it's come from this file.
var res = {
    HelloWorld_png : "res/HelloWorld.png",

};


var g_resources = [];
for (var i in res) {
    g_resources.push(res[i]);
}
We showed path of image files. and pushed it to g_resources array. You can add more resources in here.
After looking at resources file, Let's look most important file of our simple project. its named app.js. When you start to game user will show UI in it.
var HelloWorldLayer = cc.Layer.extend({
    sprite:null,
    ctor:function () {
        //////////////////////////////
        // 1. super init first
        this._super();


        /////////////////////////////
        // 2. add a menu item with "X" image, which is clicked to quit the program
        //    you may modify it.
        // ask the window size
        var size = cc.winSize;

        /////////////////////////////
        // 3. add your codes below...
        // add a label shows "Hello World"
        // create and initialize a label
        var helloLabel = new cc.LabelTTF("Hello", "Arial", 55);
      //  helloLabel.setColor(new cc.Color(255,222,22));
        // position the label on the center of the screen
        helloLabel.x = size.width / 2;
        helloLabel.y = size.height / 2 + 200;
        // add the label as a child to this layer
        this.addChild(helloLabel, 5);

        // add "HelloWorld" splash screen"
        this.sprite = new cc.Sprite(res.HelloWorld_png);
        this.sprite.attr({
            x: size.width / 2,
            y: size.height / 2
        });
        this.addChild(this.sprite, 0);
        return true;
    }
});

var HelloWorldScene = cc.Scene.extend({
    onEnter:function () {
        this._super();
        var layer = new HelloWorldLayer();
        this.addChild(layer);
    }
});
First of all We created a layer and extend it. add a label and a sprite to our layer. İf you think like director they are our decor. After that We created Scene then add this decor to the scene. and Last we say "Action !!" .
I will not explain the code .because its very simple .If you know Javascript you will understand what is going on.
